03 · Walkthrough Create your first sample template
TL;DR Settings → Observation Templates → +, pick the Mold preset, save, drop a pin. ≈ 5 minutes.
Start from the built-in Mold Inspection preset, save it, then drop your first pin. Two phases, fourteen annotated steps.
A Create the template Steps 1–7
1 Open Settings
From the plan list, tap the cog icon in the top-right corner.
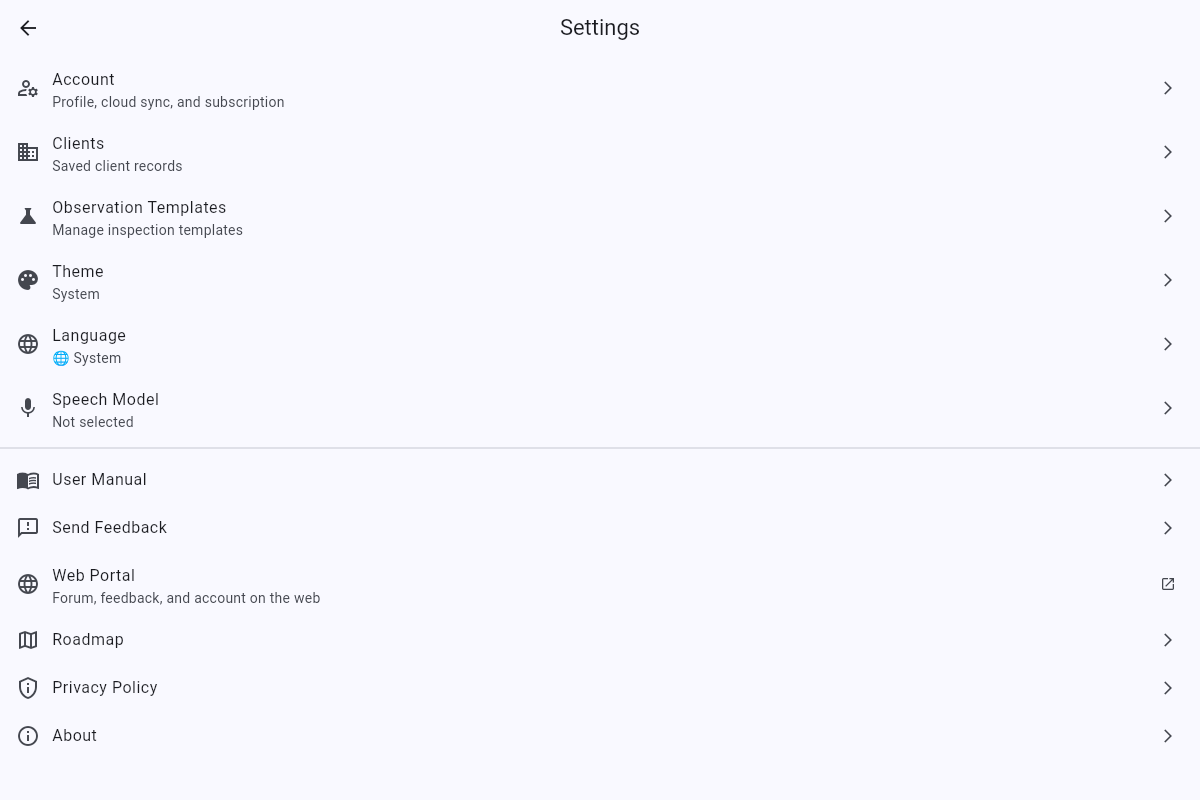
2 Tap "Observation Templates"
The Settings list groups account, clients, and template settings together. Pick the third row.
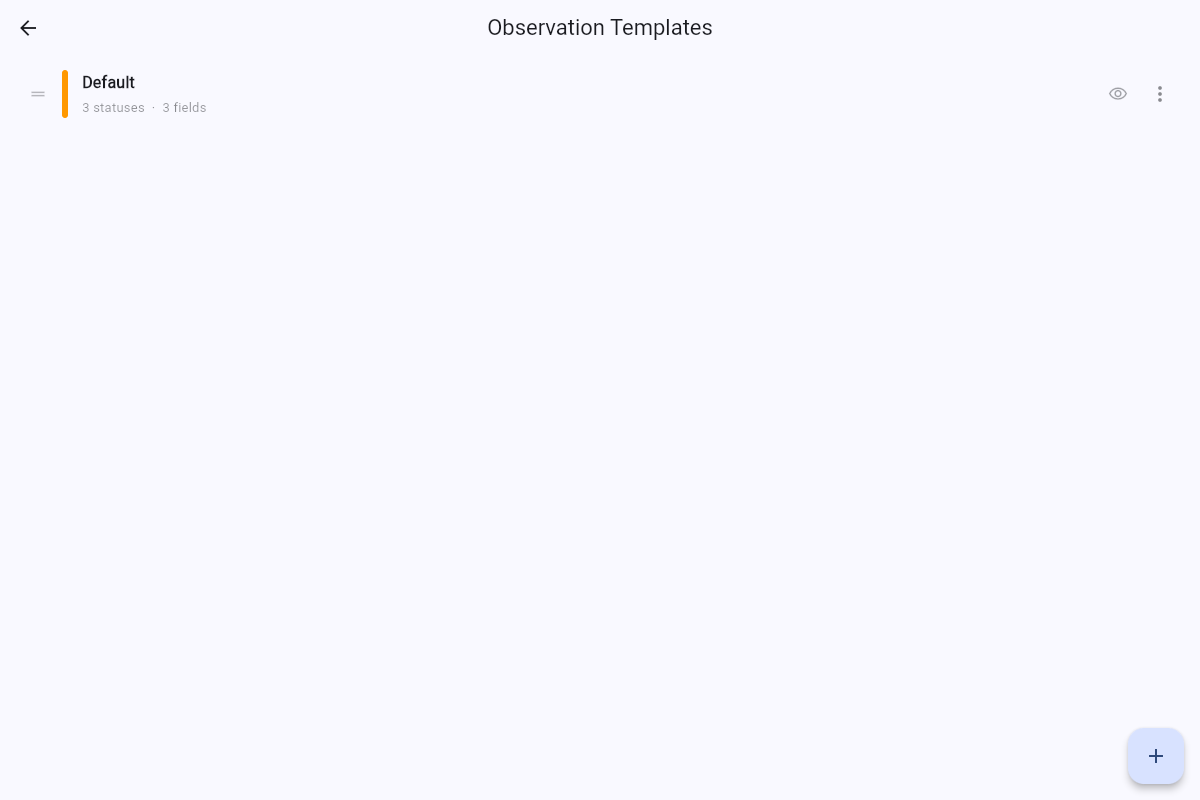
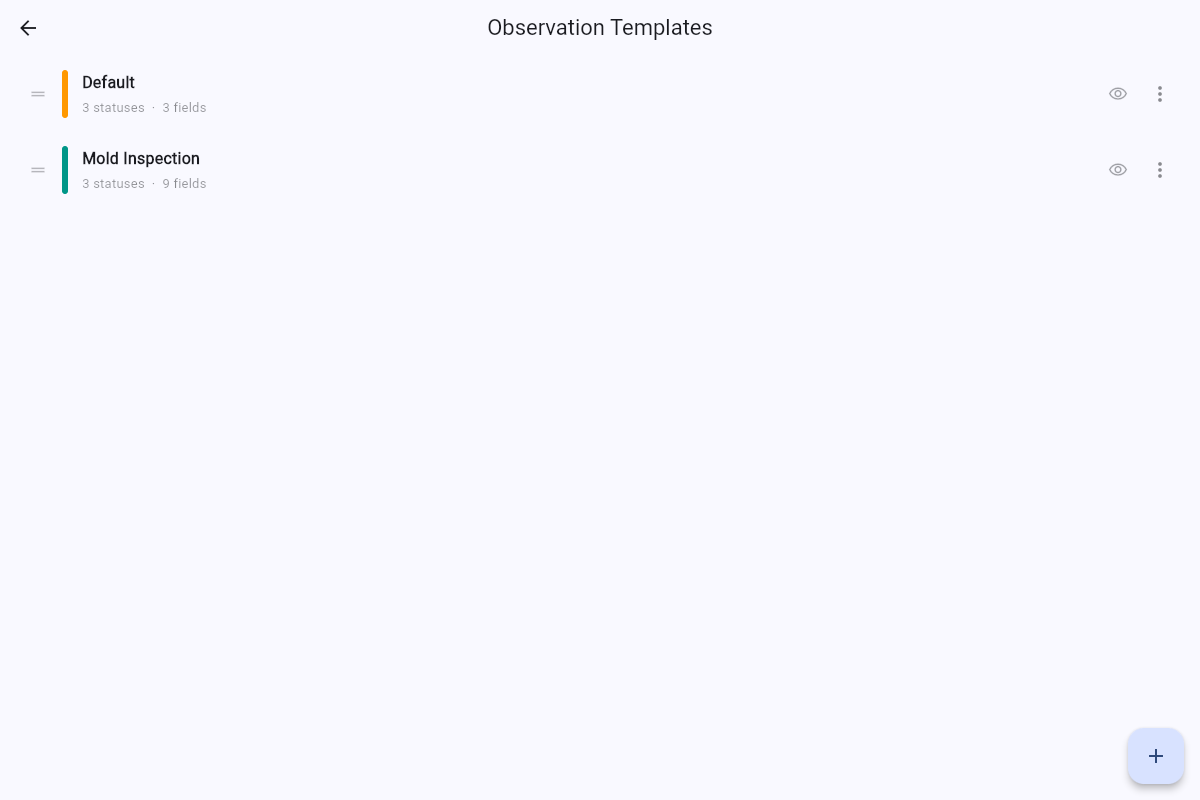
3 Add a new template
A fresh account has a "Default" template. Tap the + button in the bottom-right to start a new one.
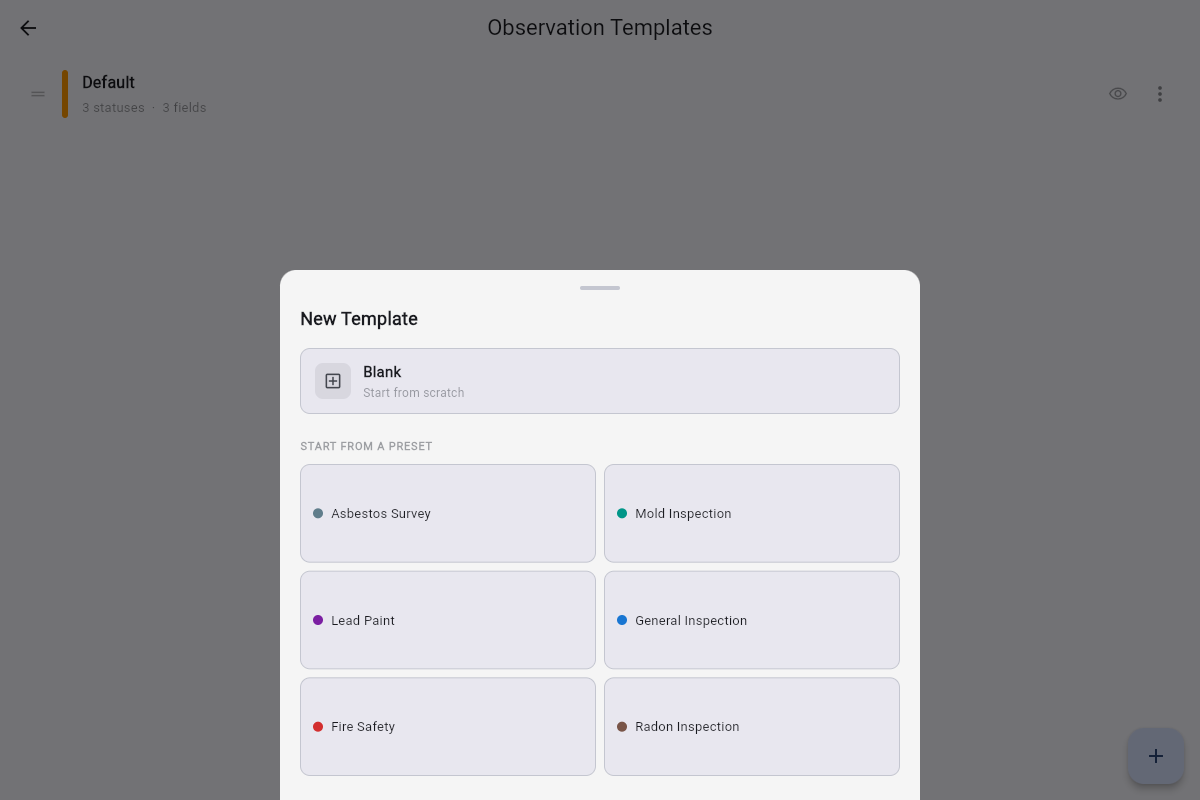
4 Pick the Mold Inspection preset
The "New Template" sheet offers six built-in presets plus a blank starting point. We'll use Mold Inspection, which already has realistic statuses and fields.
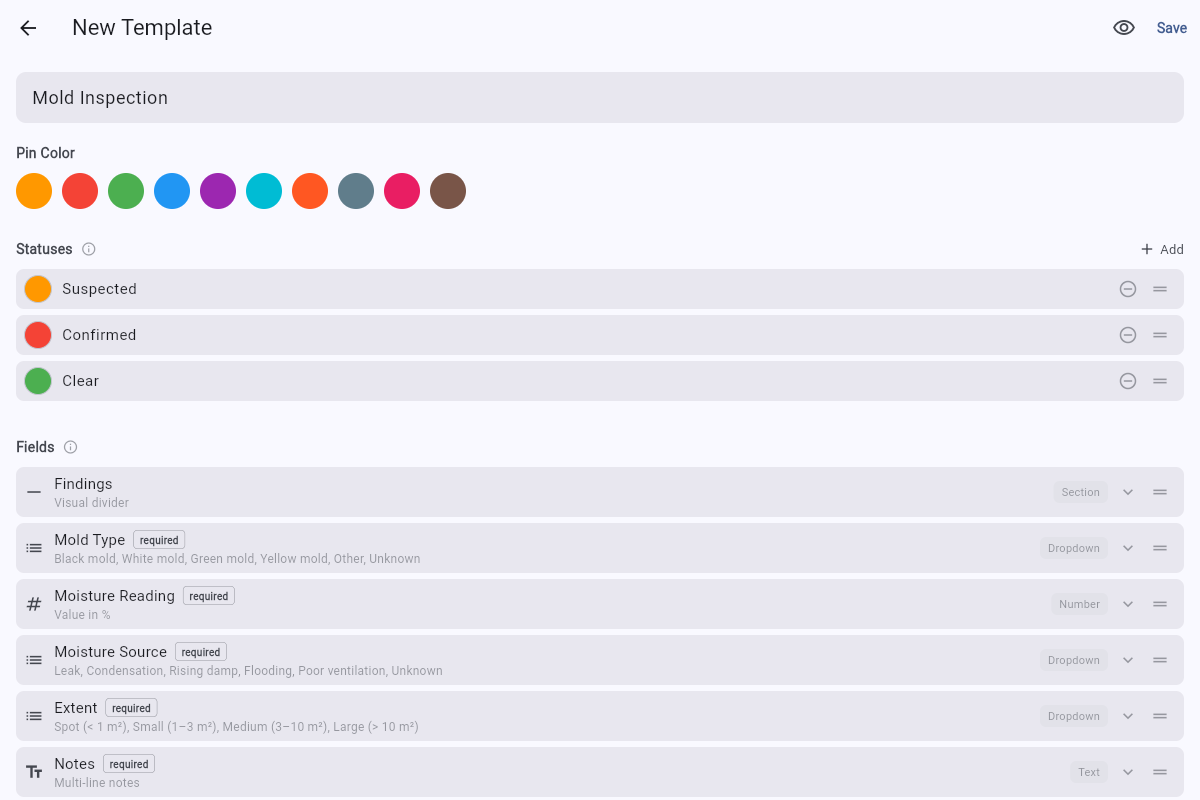
5 Editor opens pre-filled
Mold Inspection comes with a teal pin colour, three statuses (Suspected, Confirmed, Clear), and a Findings section. Rename anything; the structure is yours.
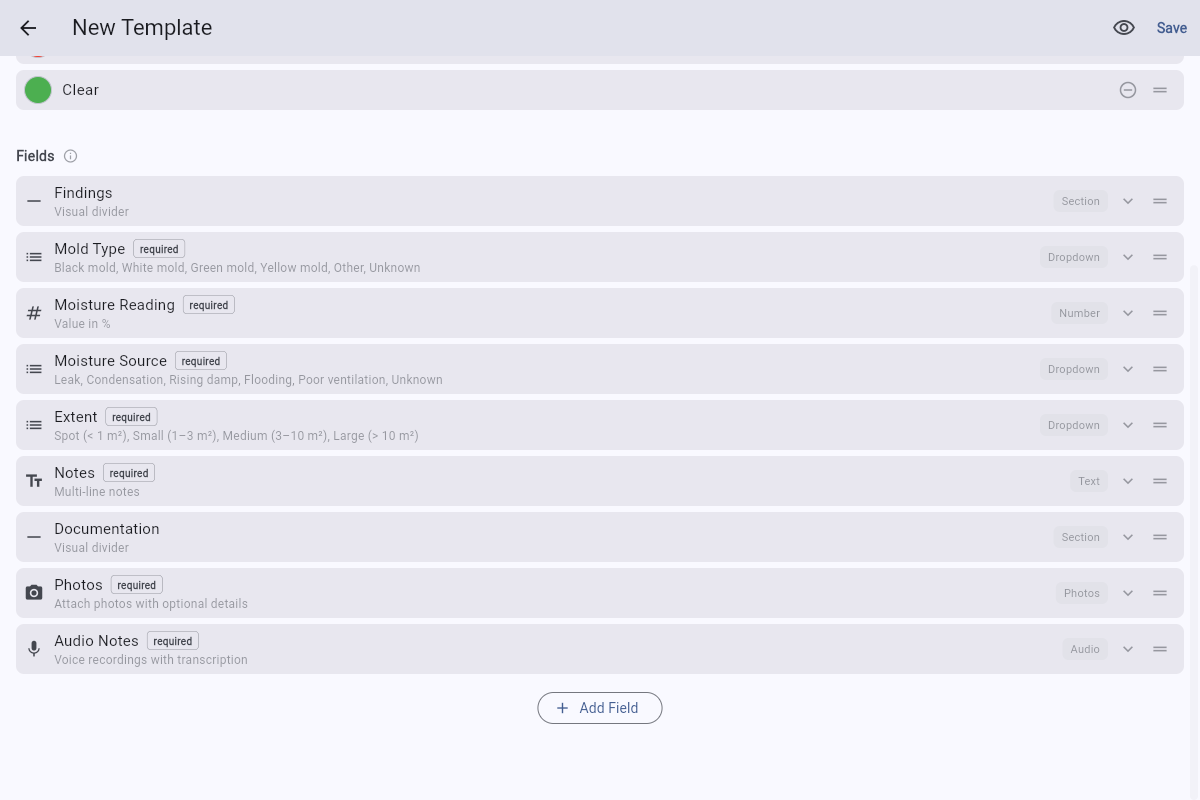
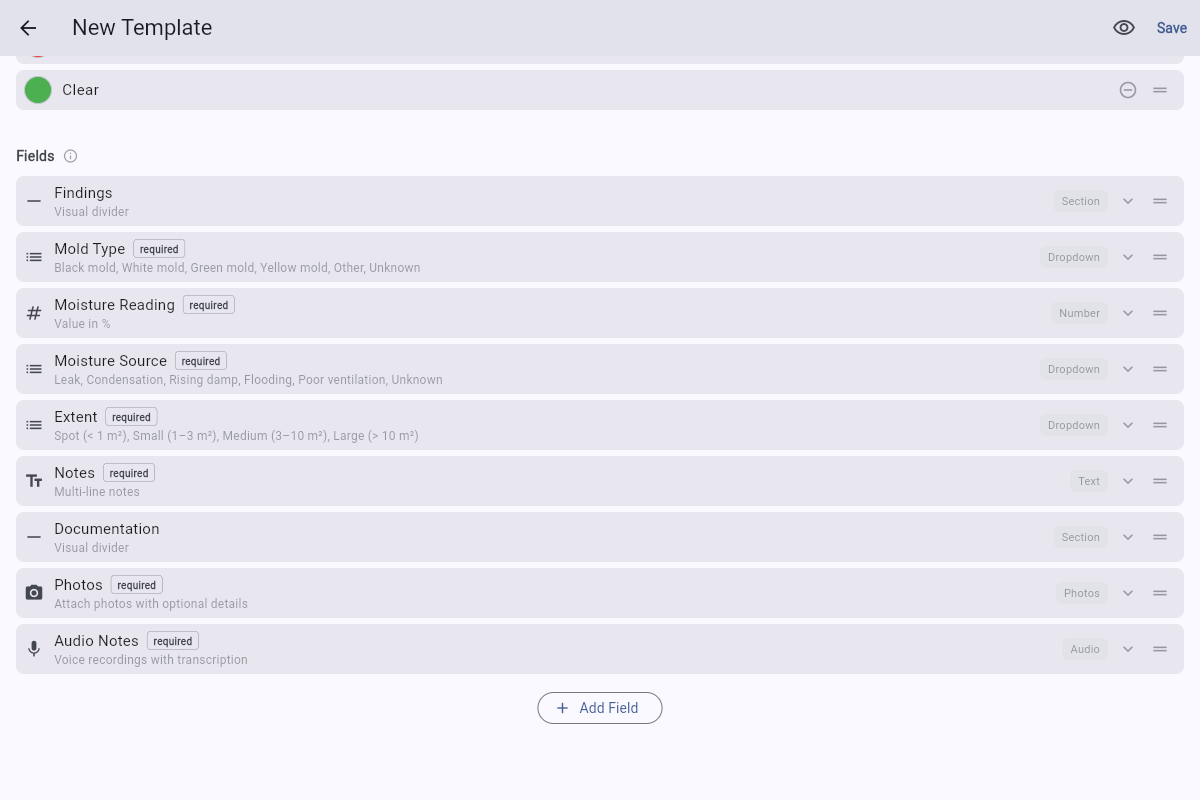
6 Scroll to see all the fields
The preset includes a Documentation section further down with photos and audio fields. Scroll to review the full structure before you save.
7 Save the template
Hit Save in the top-right when the structure looks right. The eye icon next to it gives a live preview if you want to double-check first.
B Use it on a plan Steps 8–14
8 Back to the plan list
Mold Inspection now appears in your templates list. Use the back-arrow at the top-left twice to return to the plan list.
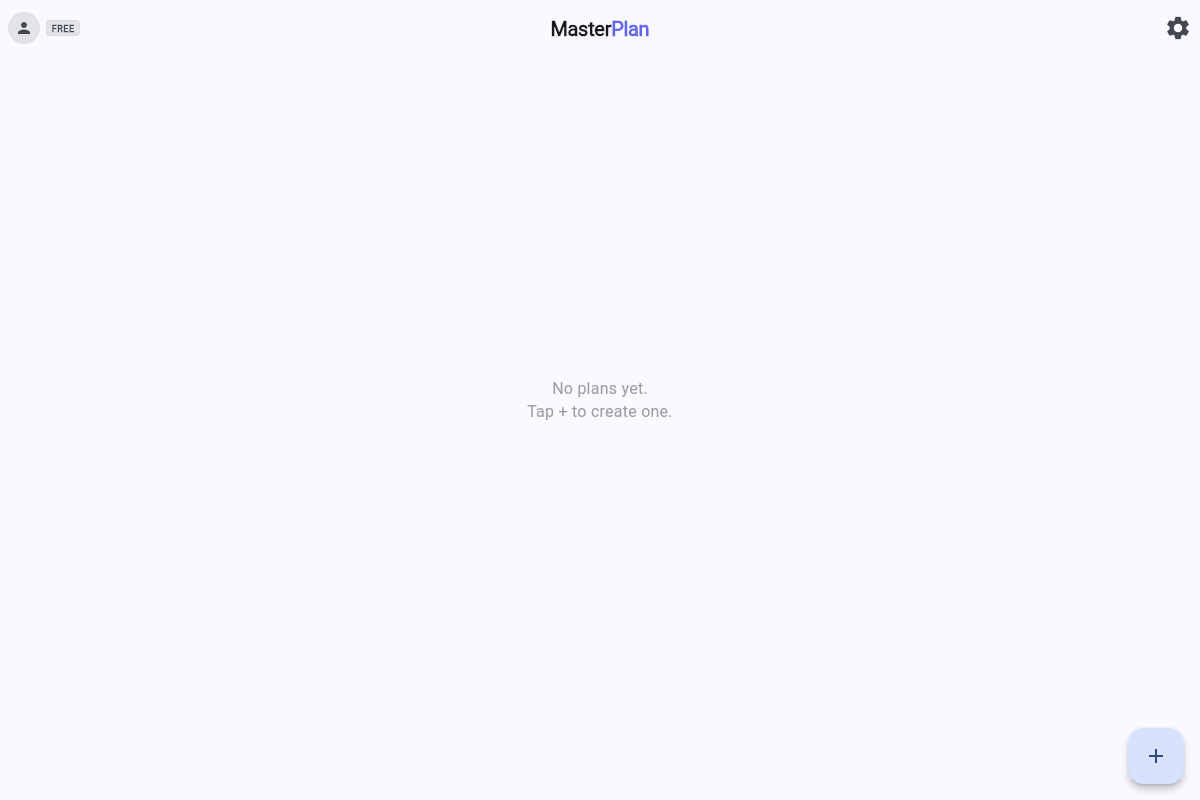
9 Create a plan to test on
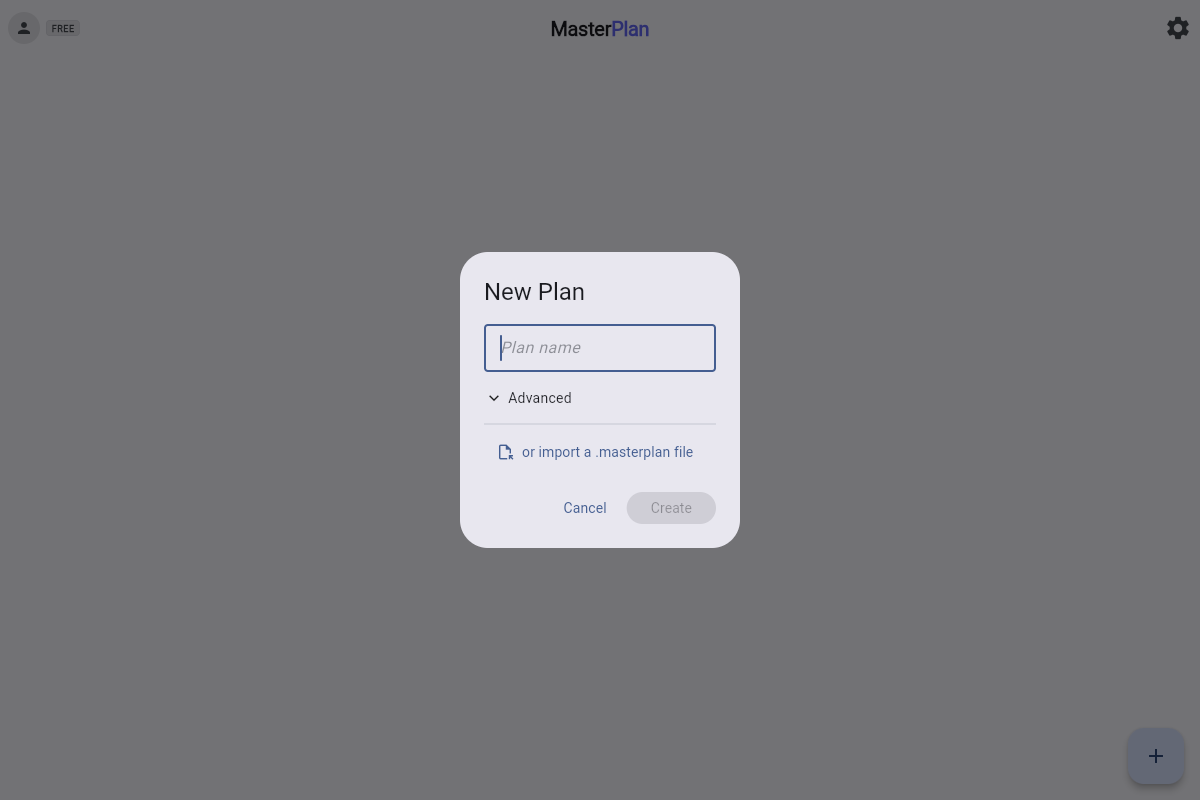
A fresh account has no plans yet. Tap the + in the bottom-right.

The "New Plan" dialog opens. Type a name (we'll use Demo Inspection) and tap Create.
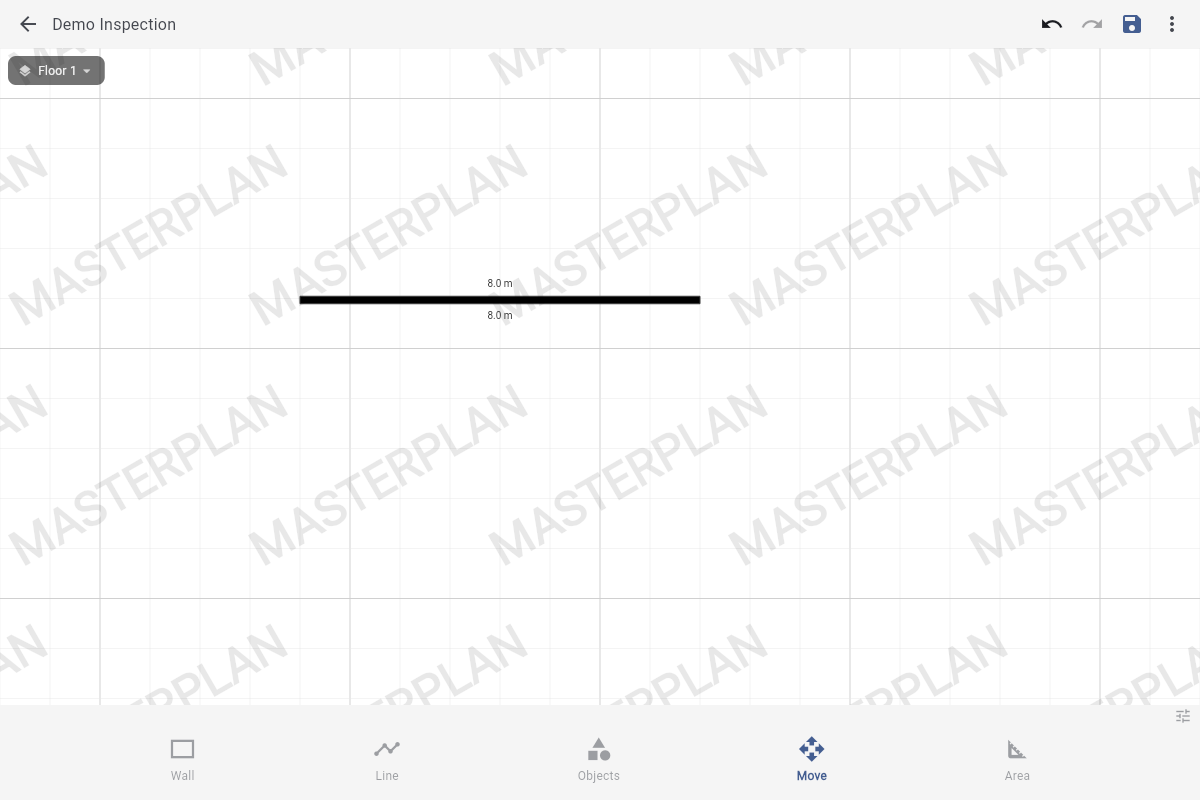
10 Open the Objects panel
Sample pins live under the Objects tab in the bottom toolbar. Drawing a wall first (as shown) gives the pin some context, but it's optional.
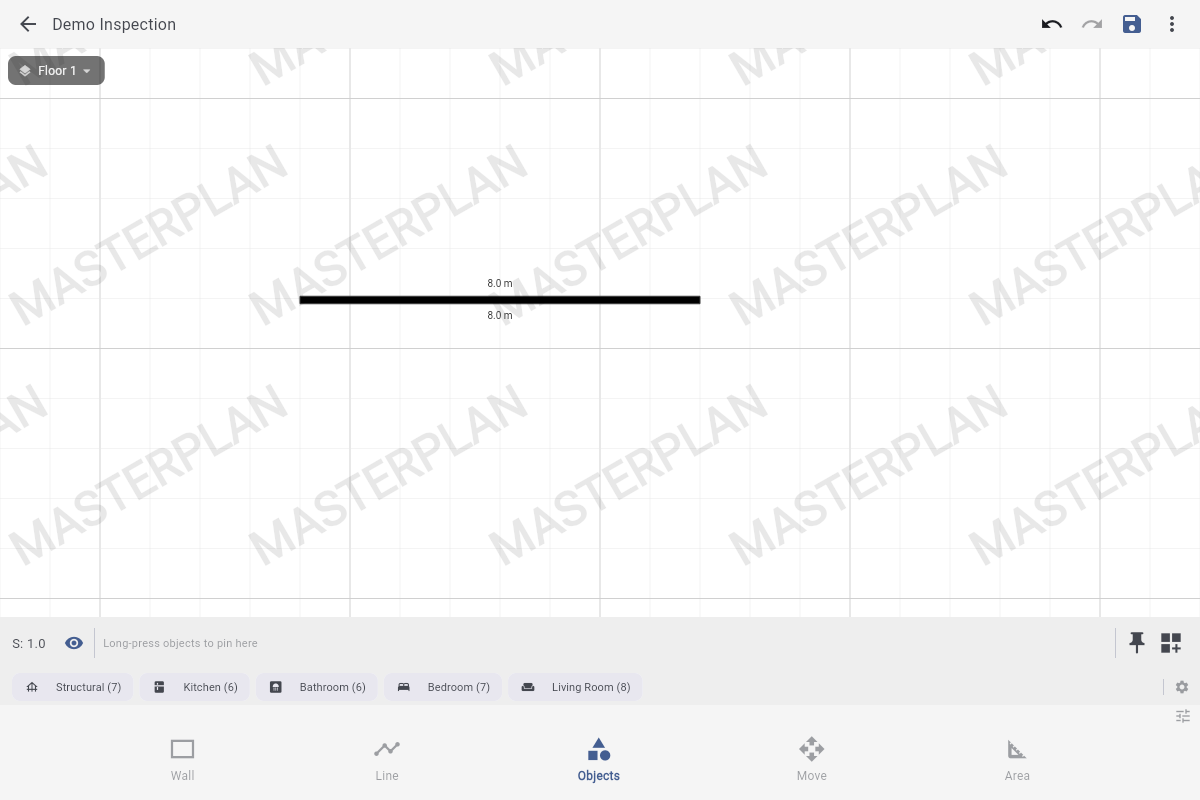
11 Tap the push-pin icon
The push-pin icon at the top-right of the Objects panel spawns a new observation pin at the centre of your view.
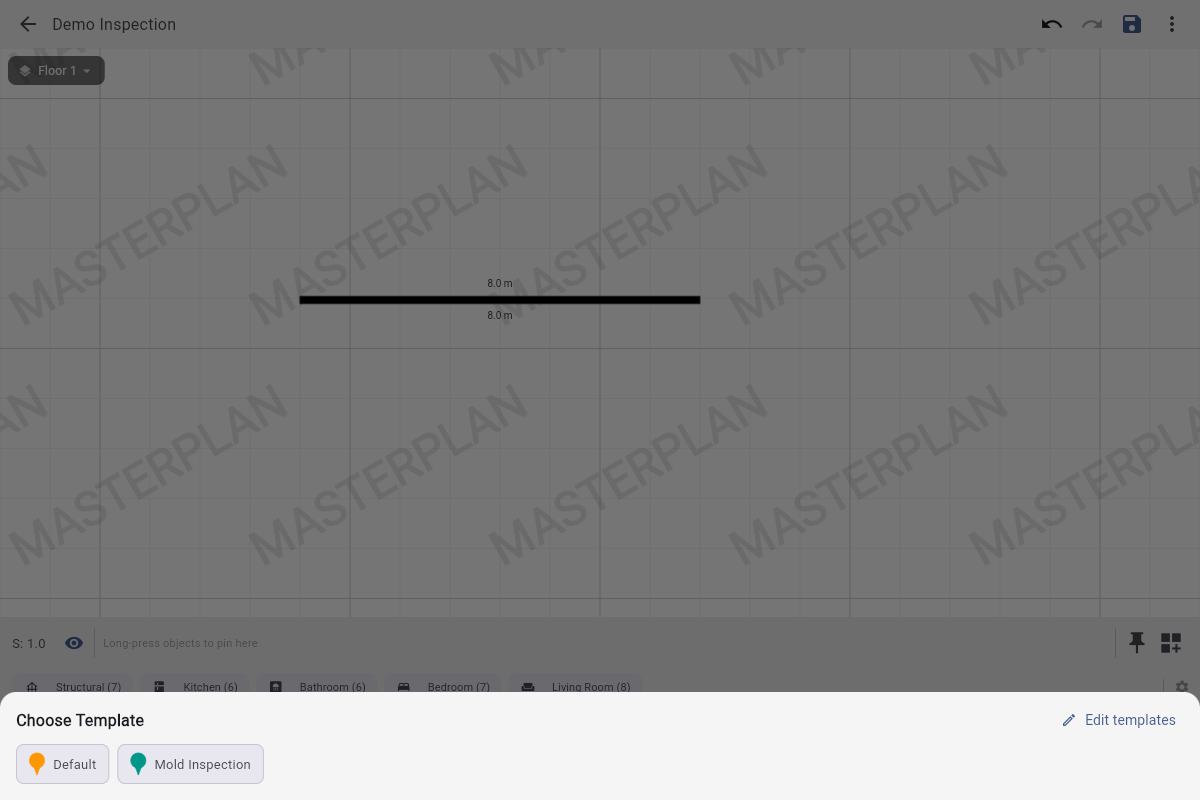
12 Pick a template
When you have more than one template, MasterPlan asks which one to use. Pick Mold Inspection.
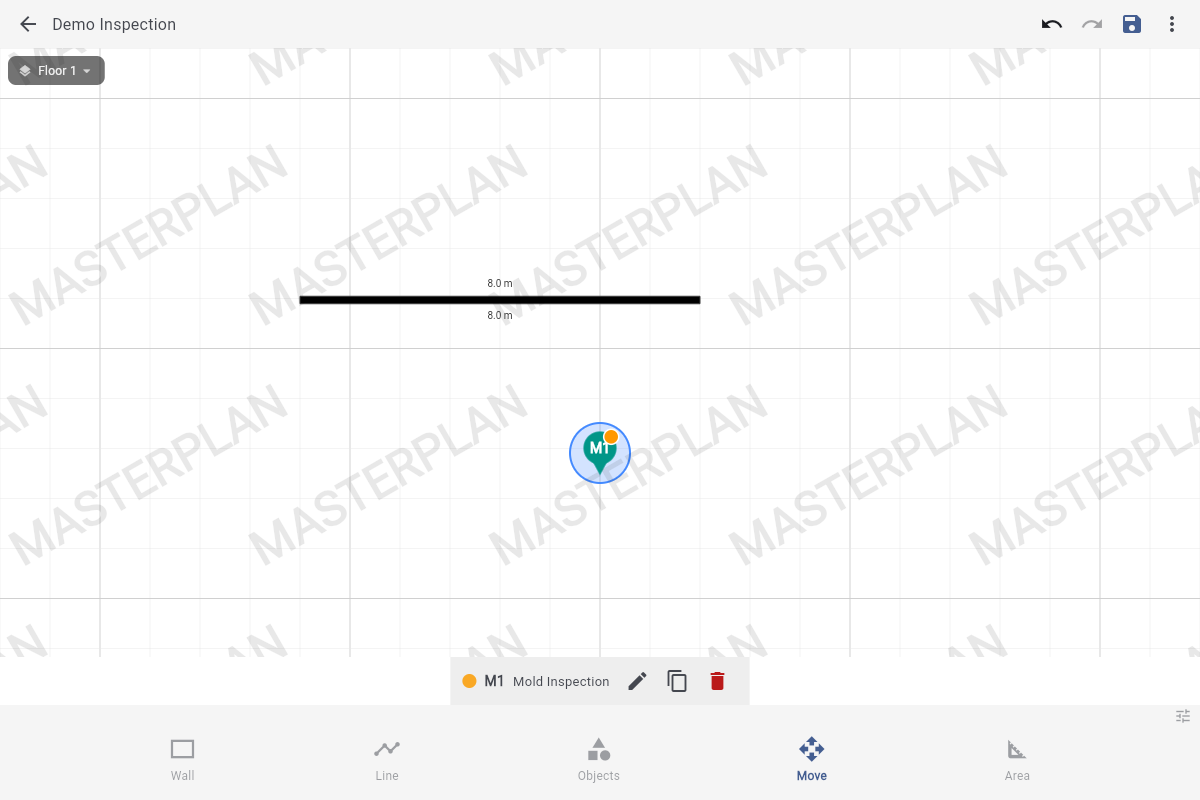
13 Pin appears — tap the pencil
A teal pin labelled M1 drops at the centre. The M comes from Mold Inspection; subsequent pins from the same template become M2, M3, and so on (full rules). Tap the pencil in the bottom toolbar to fill in the form.
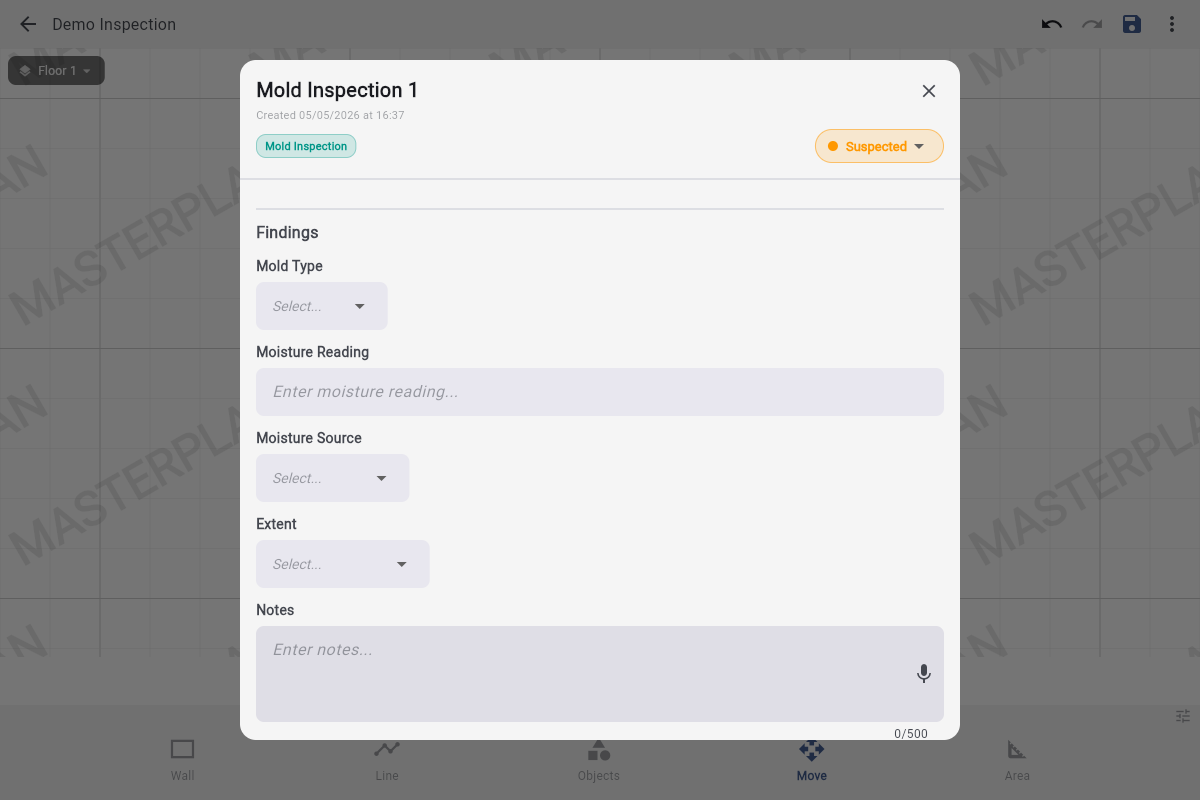
14 Fill the form — you're done
The sheet shows exactly the fields the Mold Inspection template defines: dropdowns for Mold Type, Moisture Source and Extent, a number for Moisture Reading, and a multi-line text field for Notes. The status pill in the top-right (currently Suspected) controls the pin's colour on the canvas.